Trading Strategy – Rejection at Bollinger Middle Band
This trading strategy example shows a clean setup using chart replay.
The focus is on simple structure, clear reactions, and realistic price movement.
Both a full explanation video and a short looping version are included below.
🎬 VIDEOS
📊 SETUP EXPLANATION
Context
Price moves and breaks structure.
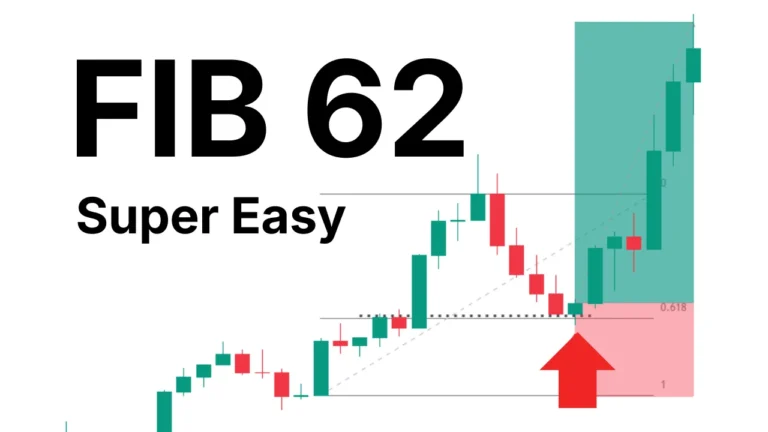
Pullback
After the break, price pulls back.
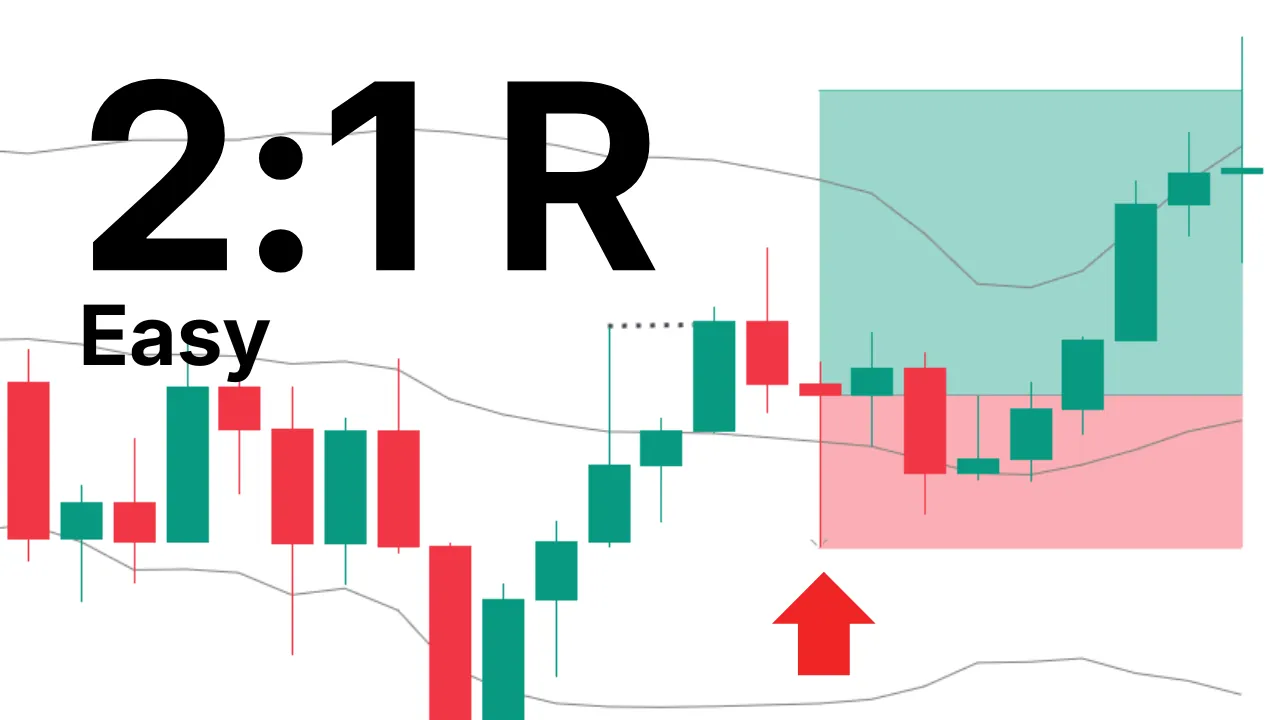
Setup
A rejection forms at a key area or indicator.
Entry
Entry is taken on the close of the rejection candle. The rejection candle respects the Bollinger middle band.
Risk
Stop loss is placed below the rejection candle.
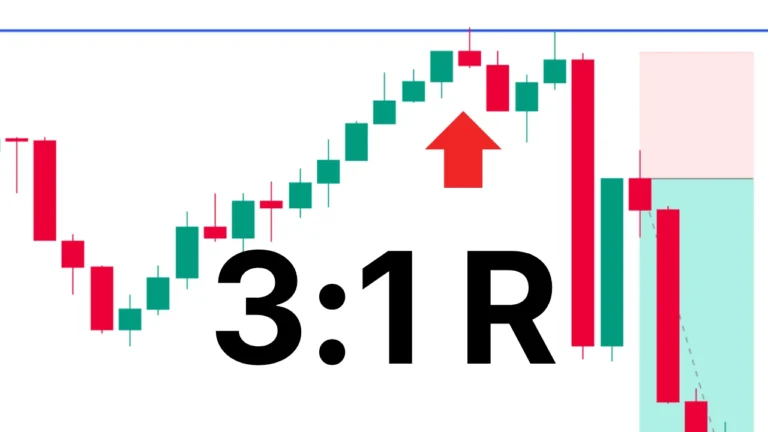
Target
Take profit is set at two times the risk (2:1).
🧠 OBSERVATION
This example shows how price can react cleanly after a break and pullback.
The goal is not prediction, but observation of structured movement.
📌 IMPORTANT NOTE
This is a simplified example for educational purposes.
Real market conditions vary, and not all setups will behave the same way.
🔗 NEXT
View more examples in the playlist:
Trading Strategy Examples